
Last updated September 20, 2026
Full 25-point door and opener safety check with every visit - springs, cables, rollers, tracks, and your LiftMaster or Chamberlain opener included
You get a price before we start. It does not change when the truck arrives.
LiftMaster openers
 Before
 After
After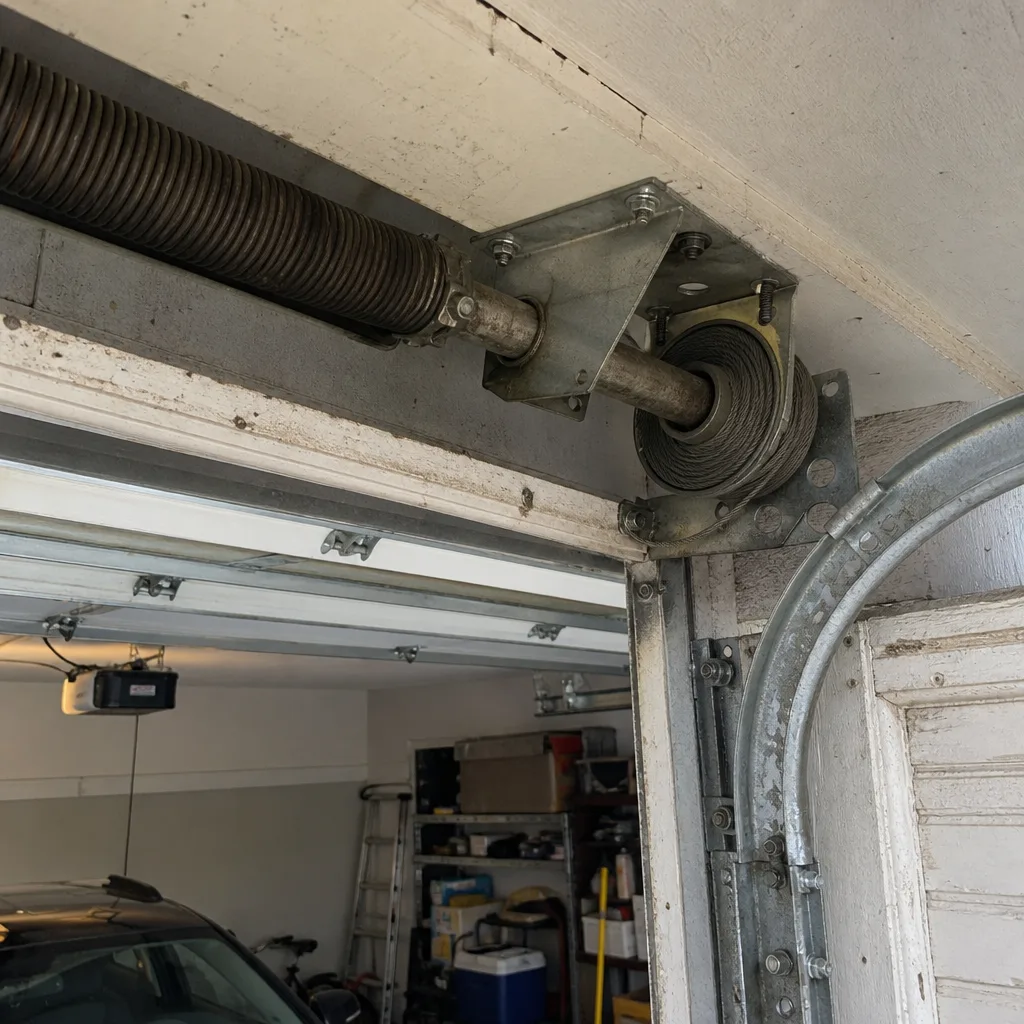 Before
 After
After Before
 After
AfterSeasonal Garage Door Care for Clermont: Year-Round Homeowner’s Guide
Garage door maintenance guides written for a national audience schedule “winter prep” in October. That advice arrives in Clermont at exactly the wrong moment. October here is when the wet season ends and the dry season’s contraction stress begins. A garage door that spent four months absorbing Lake County humidity doesn’t need winterizing, it needs its cables inspected, its weatherseal measured for gaps, and its torsion spring checked for corrosion pitting. This guide-along with our Complete Guide to Garage Door in Clermont-replaces the generic four-season calendar with the three cycles that actually govern how garage doors behave in Clermont: the wet season that corrodes, the dry season that contracts, and the hurricane-prep window most homeowners don’t schedule until it’s too late.
Quick Answer
Seasonal garage door care in Clermont means maintaining your door around three actual climate cycles, not four calendar seasons: wet season (June through September) focuses on corrosion and cable inspection; dry season (November through April) focuses on weatherseal contraction and lubrication; and the hurricane-prep windows in May and October focus on wind-load rating checks and anchorage verification. Most Clermont homeowners should expect to spend $45 to $85 per year on maintenance materials and roughly $120 to $240 on an annual professional inspection that includes a documented photo record; see our Garage Door Cost Breakdown: The Clermont Homeowner’s Reference for 2026 for full pricing details.
Table of Contents
- Wet Season Care (June through September): Corrosion Watch
- Dry Season Care (November through April): Contraction and Gaps
- Hurricane Prep Windows (May and October): Wind-Load and Anchorage
- Building Your Three-Cycle Maintenance Log
- Components Most Likely to Fail in Each Cycle (With Price Ranges)
- Seasonal Maintenance Checklist by Cycle
- Common Mistakes to Avoid
- When to Call a Professional
- Frequently Asked Questions
- The Bottom Line
BeforeAfterWet Season Care (June through September): Corrosion Watch
Clermont’s wet season delivers 70 percent of the year’s rainfall in four months, and the humidity sits above 80 percent most afternoons. For a garage door, that means one thing: accelerated corrosion. The cables are the first casualty. Galvanized steel cable, which is what nearly all residential doors use, begins showing surface rust within 18 to 24 months of continuous high-humidity exposure. In our service records, cable-related failures in the Clermont area cluster between July and September, after the wet season has had several weeks to work on any exposed wire.
What to Check During Wet Season
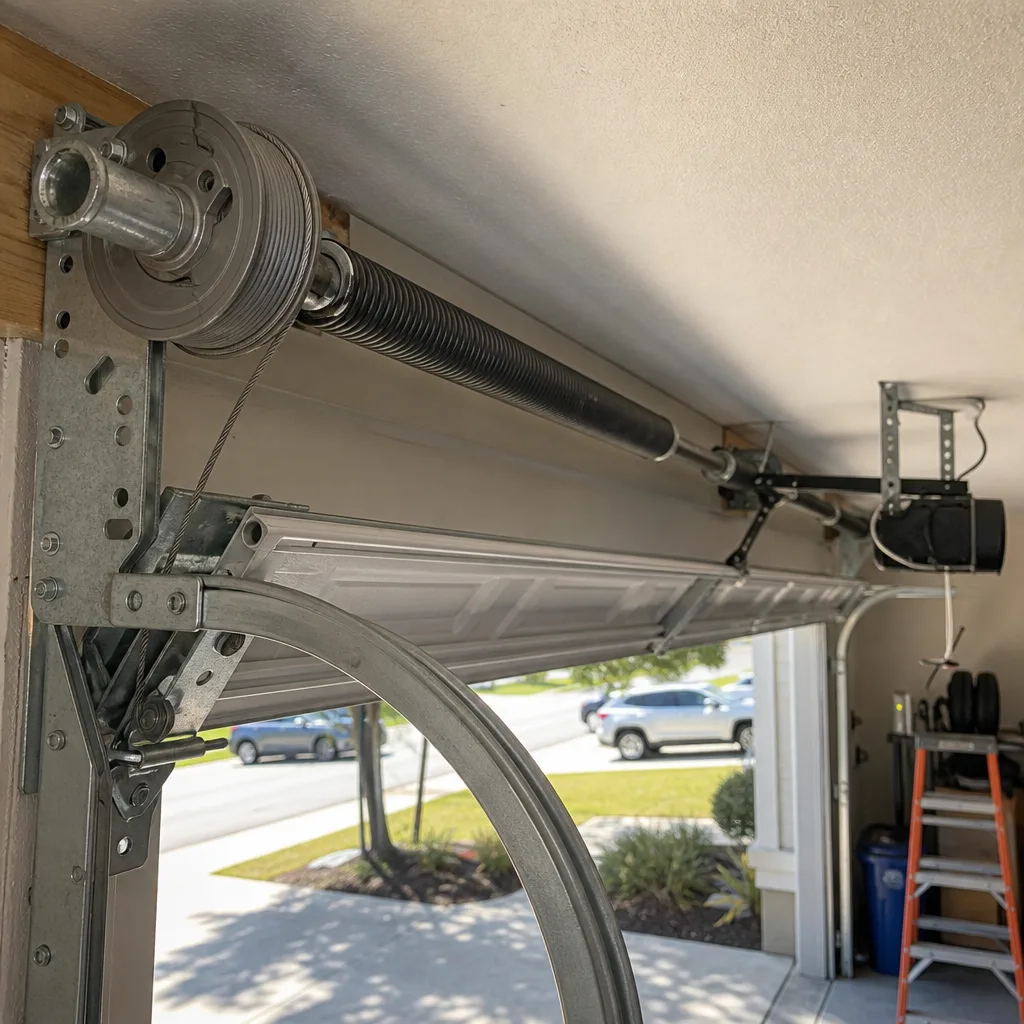
- Torsion spring pitting: Look for rust pitting on the spring coils. Surface rust is cosmetic. Pitting creates stress points that lead to snap failures. If you see pitting across more than a third of the coil surface, budget for replacement.
- Cable fraying at the drum: The cable winds onto a drum at each end of the torsion tube. That drum is where the wire is most stressed, and it’s where rust accumulation becomes visible first.
- Bottom bracket corrosion: The L-shaped steel brackets that anchor the cables to the bottom of the door sit close to ground level, where splash-back from afternoon thunderstorms reaches them. These brackets fail from the bottom up.
- Roller wear: Steel rollers in wet-season conditions pick up rust at the bearing surface, which increases friction. Nylon rollers hold up better, but their steel bearings are still subject to the same humidity.
Wet Season Maintenance Tasks
- Lubricate the torsion spring every 8 weeks. Use a garage door-specific lubricant, not WD-40. A light coat across the coil surface displaces moisture without attracting grit.
- Inspect the cables with a flashlight every 30 days. Look specifically at the last 6 inches of cable where it meets the bottom bracket, and the first 6 inches where it leaves the drum. Those are the two failure zones.
- Run the door through a full open-close cycle and listen. Wet-season rust often announces itself as a change in pitch: a grinding note where there used to be a clean roll.
- Check the bottom seal for standing water. After a heavy thunderstorm, water that pools at the base of the door accelerates rust on the bottom brackets and the door’s bottom panel.
Clermont’s wet season is the highest-failure window for hardware components. The humidity is the root cause, but the failure itself often waits for a stress trigger and that trigger is usually a dry-season temperature swing that puts thermal load on already-compromised metal. If you catch the corrosion during the wet season, you fix a $45 cable. If you catch it in December, you’re more likely fixing a snapped spring and a dented panel.
For homeowners who want a professional set of eyes on wet-season wear, Garage Door Repair in Clermont from Servo includes a written condition report with pricing for anything that needs attention, before any work starts.
Dry Season Care (November through April): Contraction and Gaps
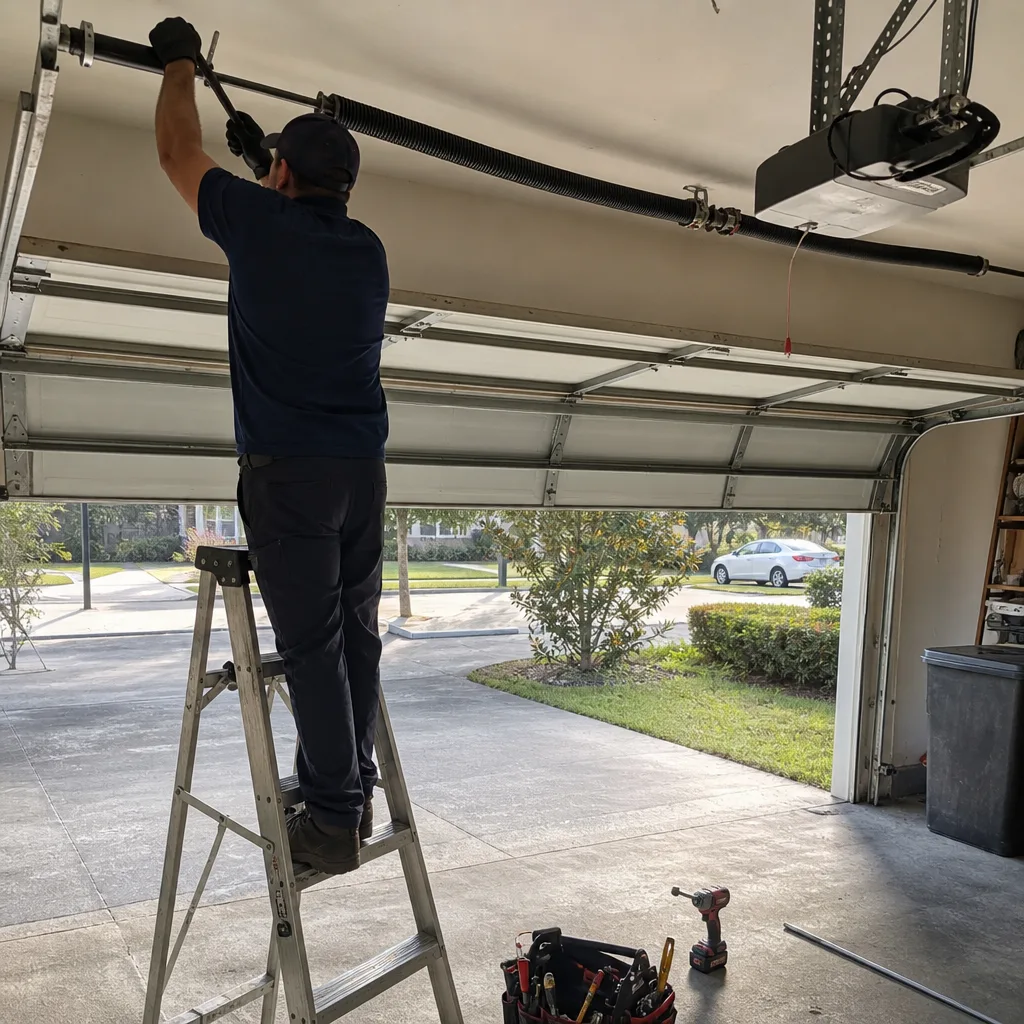
When Clermont’s humidity drops into the 40 to 60 percent range in November, the materials in and around your garage door contract. Rubber weatherseals shrink, vinyl trim pulls away from the jamb, and nylon rollers lose some of the moisture that kept them pliable. The result is what we see most often in the dry months: gaps. A bottom seal that was watertight in August may leave a quarter-inch gap in January, and that gap is an open channel for pests, dust, and conditioned air.
What the Dry Season Does to Each Material
- PVC bottom seal: Loses flexibility as temperatures swing from morning lows in the 50s to afternoon highs in the 70s. The material develops a memory of whichever position it sat in longest, which is usually compressed. When it contracts, it pulls away from the floor at the corners first.
- Vinyl weatherstrip around the jambs: The nails or staples that hold it in place don’t move, but the vinyl itself pulls back. This creates the classic dry-season symptom: a visible sliver of daylight at the top corners of the door opening.
- Wood-framed openings: For homes with wood jambs, the dry season is when you’ll see the paint begin separating at the joint lines. That cosmetic split is an early warning that moisture is leaving the frame, which means the frame is moving.
- Steel doors: A steel door doesn’t contract much on its own, but the mounting hardware attached to it does. Dry-season thermal cycling loosens the lag bolts at the hinge plates and the track brackets over time.
A Simple Dry-Season Test
Stand inside the garage with the door closed and the lights off on a sunny afternoon. The gaps will show themselves as thin lines of light. Mark their locations, then check the corresponding seal. If the gap is wider than an eighth of an inch, the seal needs attention. If it’s wider than a quarter inch, you’re losing conditioned air and inviting pests.
Dry Season Maintenance Tasks
- Test the balance twice, once in November and once in March. Disconnect the opener and lift the door manually to waist height. If it stays, the spring tension is adequate. If it drifts down, the spring has lost tension and the opener is doing work it shouldn’t have to do.
- Lubricate the rollers and hinges each January. A single drop of white lithium grease on each hinge pivot and each roller bearing keeps the metal surfaces from grinding during the low-humidity months when lubrication film breaks down faster.
- Inspect the bottom seal for compression set. If the seal looks flattened at the corners and doesn’t spring back when you press it, it’s time for a replacement. A new bottom seal runs $18 to $35 in material and takes about 30 minutes to install.
- Check the opener’s travel limits. Dry-season contraction means the door may not be closing flush against the floor anymore. Adjusting the close limit is a 2-minute fix on most LiftMaster and Genie openers.
For a deeper dive into opener adjustments and the specific failure patterns we see on LiftMaster, Genie, and Chamberlain units in Clermont, the Garage Door Opener Repair & Installation in Clermont page covers the common issues and what they cost to fix.
Hurricane Prep Windows (May and October): Wind-Load and Anchorage
Lake County sits in the Central Florida wind zone, and Clermont’s rolling topography adds a wrinkle: homes on elevated lots get hit with higher wind loads than homes in the flatlands south of the city. The building code requires garage doors to resist both positive pressure pushing the door inward and negative pressure pulling it outward, and the door’s rating is only as good as its anchorage. A wind-rated door with loose track brackets or rust-thinned bolts is not wind-rated anymore.
The two windows that matter are May, before peak hurricane season begins, and October, when late-season storms still track toward the Gulf coast. Most Clermont homeowners do a May check and skip October. That’s a miss. October is also when the wet-to-dry transition stresses the hardware, so the anchorage inspection catches a second problem set for free.
What a Hurricane Prep Check Actually Includes
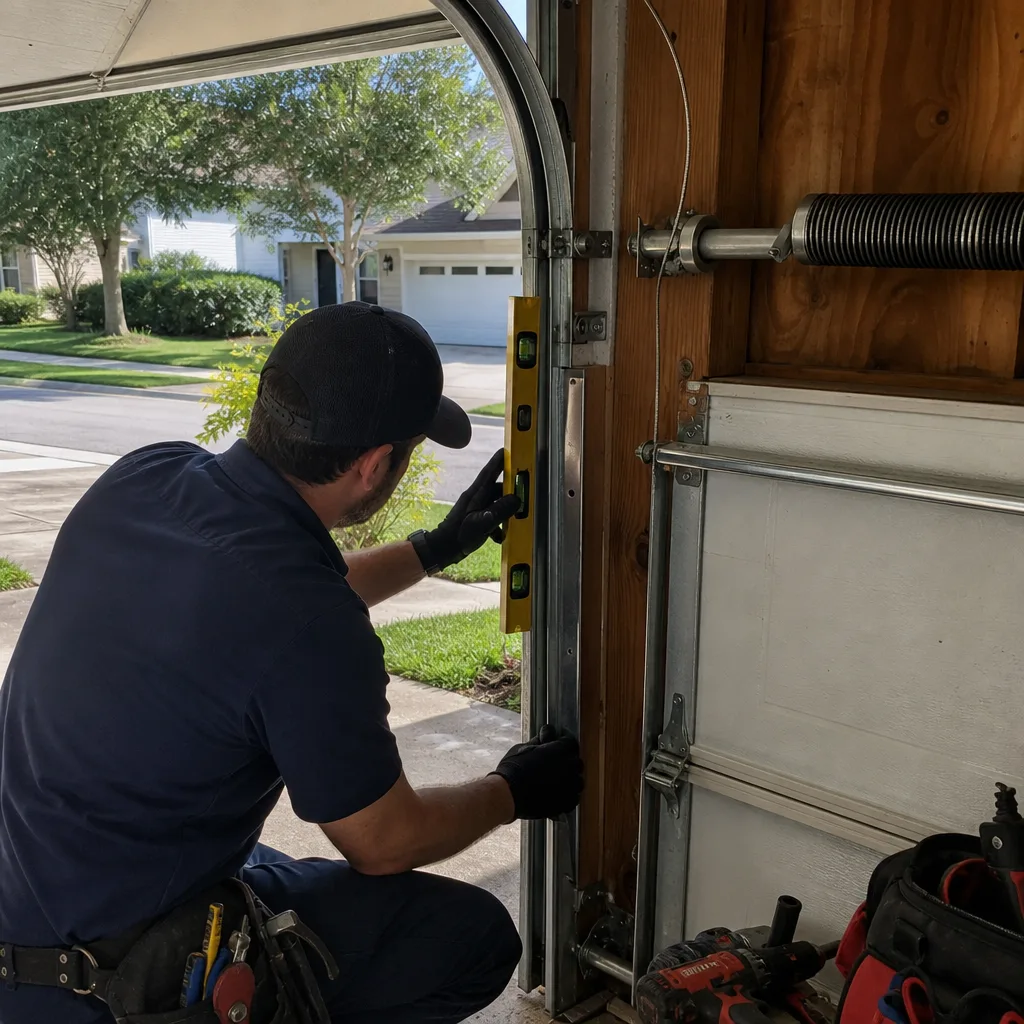
- Track bracket bolts: Every vertical and horizontal track bracket should have its lag bolts tight against the jamb. A loose bracket under wind load turns a local failure into a blown-in door.
- Center hinge and strut hardware: The horizontal struts bolted across each panel are what give the door its wind resistance. Missing or corroded strut fasteners reduce the door’s effective rating by more than the missing bolt’s share.
- Jamb anchor condition: The wood or block around the opening, under the track brackets, has to be sound. In Clermont, we see termite damage and dry-rot both undercut anchorage integrity. The bracket might be tight against the surface while the wood underneath is gone.
- Door rating sticker: Most doors have a manufacturer label on the inside face of the top or bottom panel with the wind-load rating. If the door is older or the label is missing, you don’t have a documentation trail for that rating, which matters for insurance purposes.
- Bottom bracket fasteners: The bottom brackets anchor the lifting cables and the bottom of the door. When wind attempts to pull the door outward, the bottom brackets are the primary resistance points. Their lag bolts need to be full-length and tight.
- Close the door. An open door is a wind scoop and a projectile risk. Close it before you do anything else.
- Disengage the opener and pull the manual release handle. A door that’s locked to the opener rail is more likely to bow under differential pressure than one that’s free to move slightly in its tracks.
- Lock the slide bolt or add a vertical brace if the door is a single-wide. Double-wide doors carry more square footage of wind load and benefit more from bracing, but any door rated for less than the zone’s design pressure needs it.
- Photograph the door from inside and outside. Post-storm insurance claims go faster when you have a “before” photo. Servo’s standard service includes a documented photo record on every visit for exactly this reason, and it’s Clause 4 of The Haven Standard that any failed component is photographed before a replacement is quoted.
- Wet season entry (July): Record cable condition, spring surface condition, roller noise, and any rust you can see. Note whether the door opens and closes smoothly at a consistent speed.
- Dry season entry (January): Record the results of the daylight gap test, the balance test result, bottom seal compression, and opener travel limits.
- Hurricane prep entry (May): Record bracket bolt tightness, strut fastener condition, jamb wood condition, and the door’s wind rating if a label is present.
- Lift cables: $45 to $95 per cable installed. Failed cables are the most common wet-season call in Clermont. The rust starts at the drum and the cable lets go under load, usually when the door is moving.
- Bottom brackets: $35 to $70 per bracket. Corrosion at ground level weakens the steel until the bracket bends or the cable anchor pulls through.
- Torsion spring (corrosion-related snap): $180 to $340 for a standard single-spring replacement. Springs are under enough tension that a snapped spring sounds like a gunshot, and we tell every homeowner the same thing: this is not a DIY repair.
- Torsion spring (pitting, pre-failure): $145 to $285 if caught before the break. The difference between a caught spring and a snapped spring is usually the cost of a panel repair or a door realignment.
- Torsion spring (tension loss): $180 to $340 for replacement, or $95 to $150 for a tension adjustment when the spring is still sound. Dry-season temperature swings are the primary trigger for springs that were already near the end of their cycle life.
- Bottom seal replacement: $18 to $35 in materials, or $85 to $150 installed. The most common dry-season fix, and the one with the clearest return: it stops conditioned air loss and pest entry in one step.
- Opener gear failure: $165 to $280 for gear and sprocket replacement on Chamberlain, LiftMaster, and Genie units. Dry-season thermal cycling causes material fatigue in the opener’s gear train.
- Hinge and roller wear: $8 to $18 per hinge, $12 to $20 per roller installed. Low humidity means less natural lubrication on the bearing surfaces.
- Track bracket re-securing: $35 to $75. Loose lag bolts in the jamb are a 15-minute fix when caught early.
- Jamb reinforcement: $120 to $300, depending on the extent. When the wood behind the bracket is compromised, the bracket has to come off, the wood gets reinforced or replaced, and the bracket gets re-anchored.
- Strut repair or replacement: $45 to $90 per strut. A bent or corroded strut on a wind-rated door is doing nothing, and the door is not rated for what the label says.
- Inspect cables at the drum and bottom bracket for rust and fraying
- Lubricate torsion spring with garage door lubricant (not WD-40)
- Listen for grinding during a full open-close cycle
- Check bottom bracket for corrosion at the base of the door
- Have a professional torque-check the spring and cable tension if any rust is present
- Perform the daylight gap test with the door closed
- Run the balance test with the opener disengaged
- Lubricate rollers, hinges, and opener rail
- Inspect bottom seal for compression set at the corners
- Have a professional adjust opener travel limits and spring tension if needed
- Torque-check every track bracket lag bolt
- Verify strut fasteners on every panel
- Inspect jamb wood for termite damage or dry-rot
- Confirm door wind-rating label is present and legible
- Have a professional confirm anchorage integrity and provide a written condition report
- Following a northern maintenance calendar. Most online guides tell you to lubricate in October and inspect seals in spring. In Clermont, October is when the dry season starts and the spring inspection should happen in May, before hurricane season, not after.
- Using WD-40 on the torsion spring. WD-40 is a solvent with some lubricant. It strips the factory coating off the spring and attracts grit. Use a silicone or lithium garage door lubricant instead.
- Skipping the October hurricane prep because May was done. The wet season deteriorates hardware at different rates depending on how many afternoons thunderstorms sat over your specific neighborhood. A door inspected in May has had 120 days of humidity by October.
- Ignoring a gap at the bottom seal because it’s “just a little gap.” A quarter-inch gap along a 16-foot door is 48 square inches of open area. That’s a significant conditioned air leak and a wide-open entry for insects and small rodents.
- Attempting to replace a torsion spring without the right tools. Torsion springs are under 200 to 300 pounds of torque. The winding bars, the right spring size, and the set-screw torque spec are not optional. Every year, homeowners are seriously injured trying this. Hire a professional.
- Replacing the opener before checking the door balance. When an opener works harder than it should, most people assume the opener is failing. More often in Clermont, the spring has lost tension and the opener is compensating. Fix the balance first, then assess the opener.
- Not photographing the door before a storm. Insurance documentation matters. A single photo of the closed door, taken from inside the garage, is enough to establish pre-storm condition if there’s a dispute.
Preparing the Door Before a Named Storm
Building Your Three-Cycle Maintenance Log
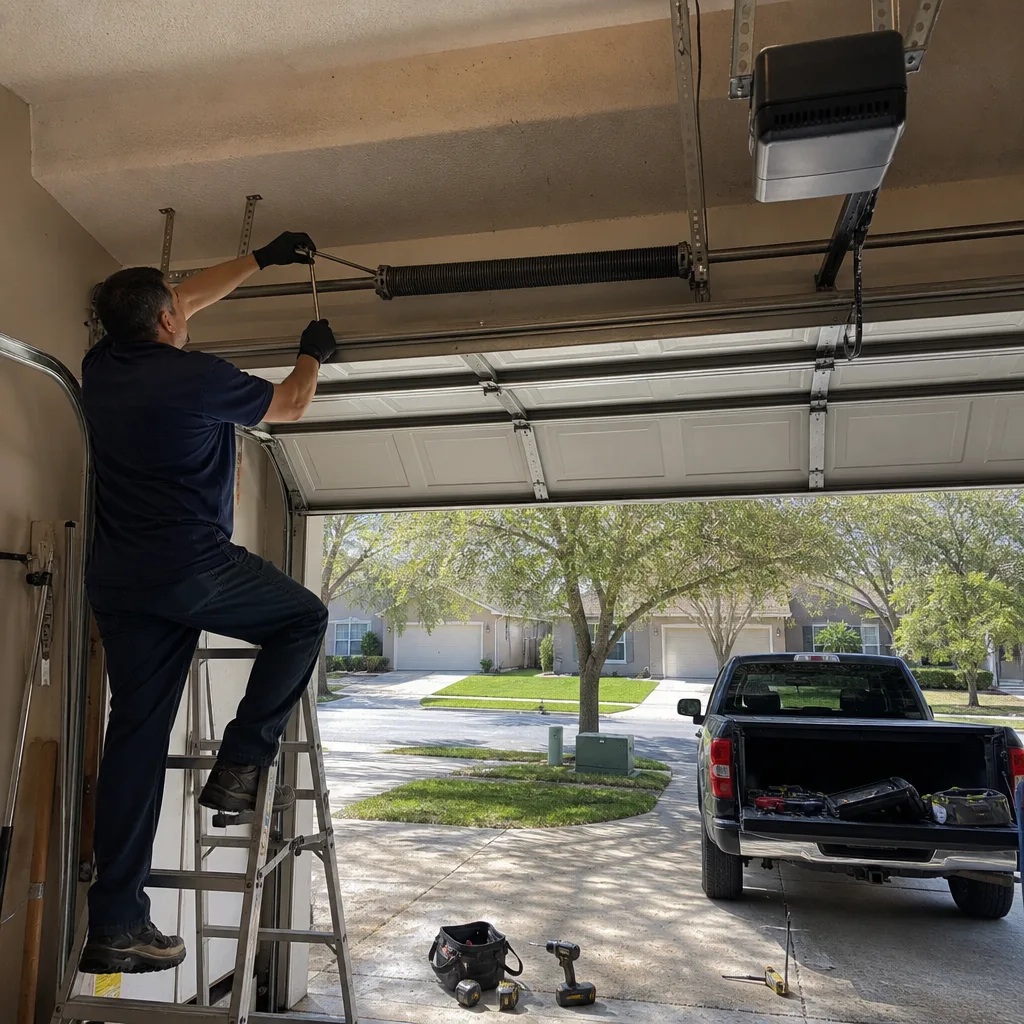
The single most useful thing a Clermont homeowner can do for their garage door is keep a three-cycle log. It doesn’t have to be elaborate. A spiral notebook in the garage or a note on your phone works fine. What matters is that you record the same observations in each cycle and date them. When something does fail, the log tells you and your technician what was true last time, which is often the difference between a $45 part and a $300 repair.
The Three Entries Per Year
Each entry should also note what you lubricated, what you adjusted, and what you replaced, with the date and the dollar amount. Over two or three years, the log becomes a maintenance history that documents what’s wearing at what rate. In our experience working on doors across Clermont, the homes with logs are the ones where we find problems at the “budget for it” stage instead of the “fix it now” stage.
Components Most Likely to Fail in Each Cycle (With Price Ranges)
Everything mechanical has a failure curve, and garage door components follow the climate cycle that puts the most stress on them. Here’s what we see most often in Clermont, by cycle, with the documented price ranges we quote so there are no surprises when the call has to happen.
Wet Season Failures (June through September)
Dry Season Failures (November through April)
Hurricane Prep Window Findings (May and October)
Every one of these prices is a flat, written price we quote before any work begins. That’s Clause 1 of The Haven Standard, and it applies to every job on this list, no exceptions. Marcus Deller built Servo Garage Doors on the rule that the customer sees the failed part, photographed, before anyone quotes a replacement. That’s Clause 4, and it’s the reason the price on the page is the price on the invoice.
Seasonal Maintenance Checklist by Cycle
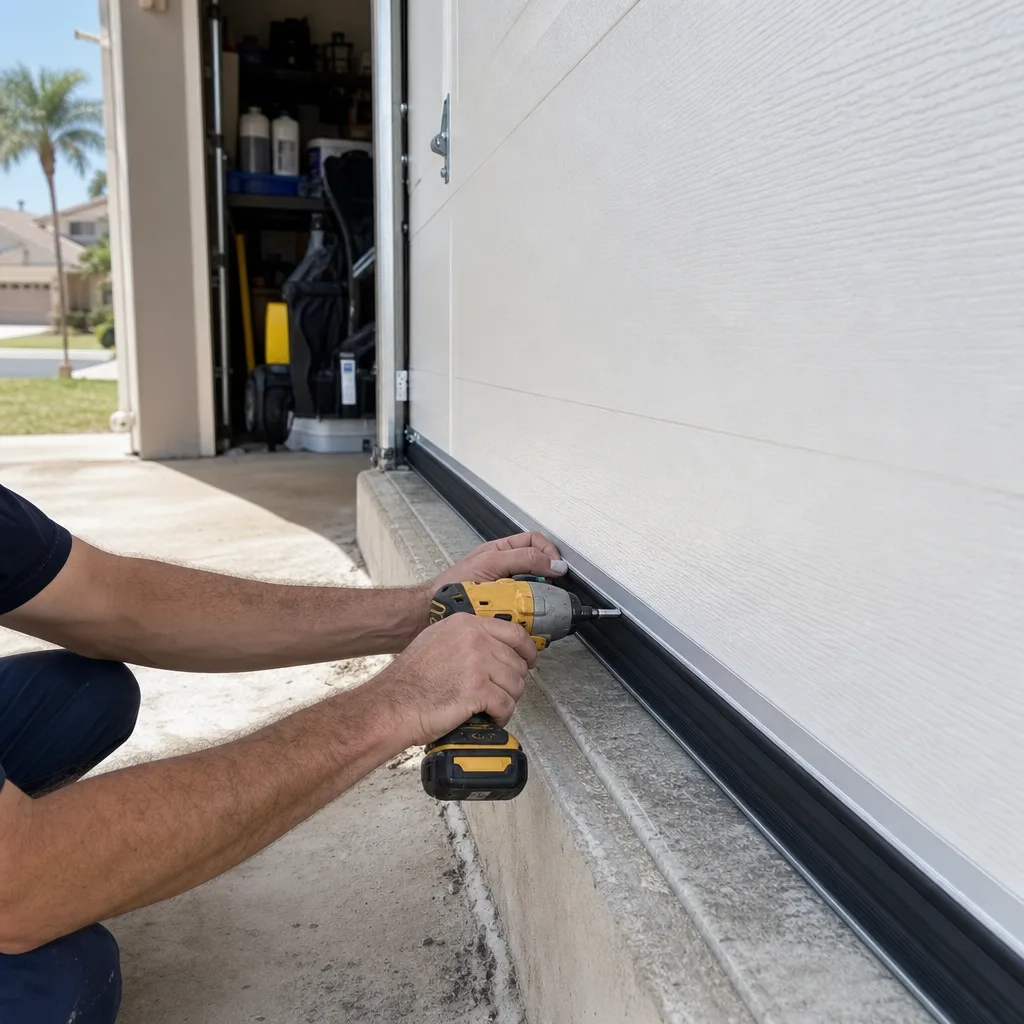
For the homeowner who wants the whole year on one page, here is the three-cycle checklist we use when we inspect doors in Clermont. Each cycle has five items. Three of them you can do yourself in under 20 minutes. Two of them benefit from a trained eye.
Wet Season (June through September)
Dry Season (November through April)
Hurricane Prep (May and October)
If you’d rather have someone else run through all of it with the right tools and a camera, Servo Garage Doors Clermont home service area covers the city and the surrounding Lake County communities, and every inspection ends with a documented photo record you keep.
Common Mistakes to Avoid
When to Call a Professional
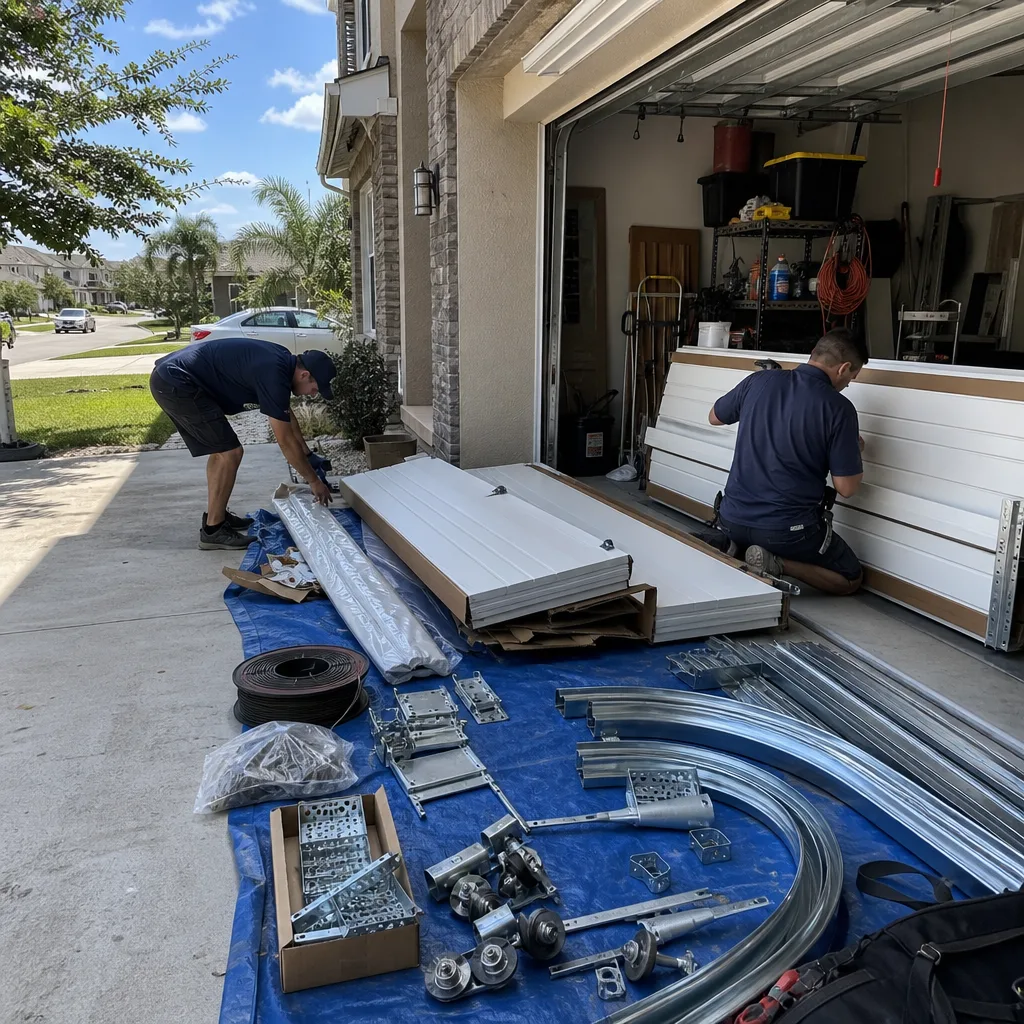
The maintenance tasks we’ve outlined are within reach for a careful homeowner: lubricating, inspecting, testing balance, checking seals. The repairs are not, as explained in our DIY vs Professional Garage Door: The Clermont Homeowner’s Decision Guide. If you find a frayed cable, a pitted spring, a bent track, a compromised jamb anchor, or an opener that’s grinding, the safe move is a professional with the right tools and a method for documenting what they find. Servo Garage Doors Clermont offers free estimates in Clermont, with a flat written price before any work starts, and a documented photo record of findings and completed work on every visit. Call (689) 400-2825 and a real person answers, 24/7.
Frequently Asked Questions
Twice a year: once in May before hurricane season and once in October as the dry season begins. That timing catches wet-season corrosion before the dry-season temperature swings stress it, and confirms anchorage integrity before peak storm activity. An annual inspection that includes a written condition report and documented photos typically runs $120 to $240 in the Clermont area.
DIY seasonal maintenance costs $45 to $85 per year in lubricant, seals, and small parts. A professional seasonal inspection with a written report runs $120 to $240. Repairs found during an inspection range from $45 for a bottom seal replacement to $180 to $340 for a torsion spring replacement. Call (689) 400-2825 for an exact quote, estimates are free and the price is flat and written before any work starts.
Yes, with a firm boundary: lubricating, inspecting for visible rust or gaps, testing balance, and checking bolt tightness are all safe homeowner tasks. Anything involving the torsion spring, the cables under tension, or track adjustment is not. Those components hold enough energy to cause serious injury, and a professional with the right tools should handle them.
Yes. Clermont is 30 miles from the Gulf coast, but the wind zone extends well inland, and the city’s elevated topography increases effective wind load in many neighborhoods. A door that isn’t properly anchored can blow in even if the walls around it hold, and once the garage breaches, the roof becomes far more vulnerable. The May and October prep windows exist for a reason.
In wet season: lift cable failure. In dry season: torsion spring loss of tension. In hurricane prep: loose track bracket bolts. All three are preventable with the right inspection at the right time. The cable failure is the most expensive to ignore because a snapped cable can drop the door unevenly and damage panels.
No. Servo Garage Doors quotes a flat, written price and written scope before any work begins, per Clause 1 of The Haven Standard. If we find something we didn’t expect, we photograph it and show you before we quote anything additional. You approve the price before work proceeds. That’s the entire point of the documented photo record that’s included on every visit.
The Bottom Line
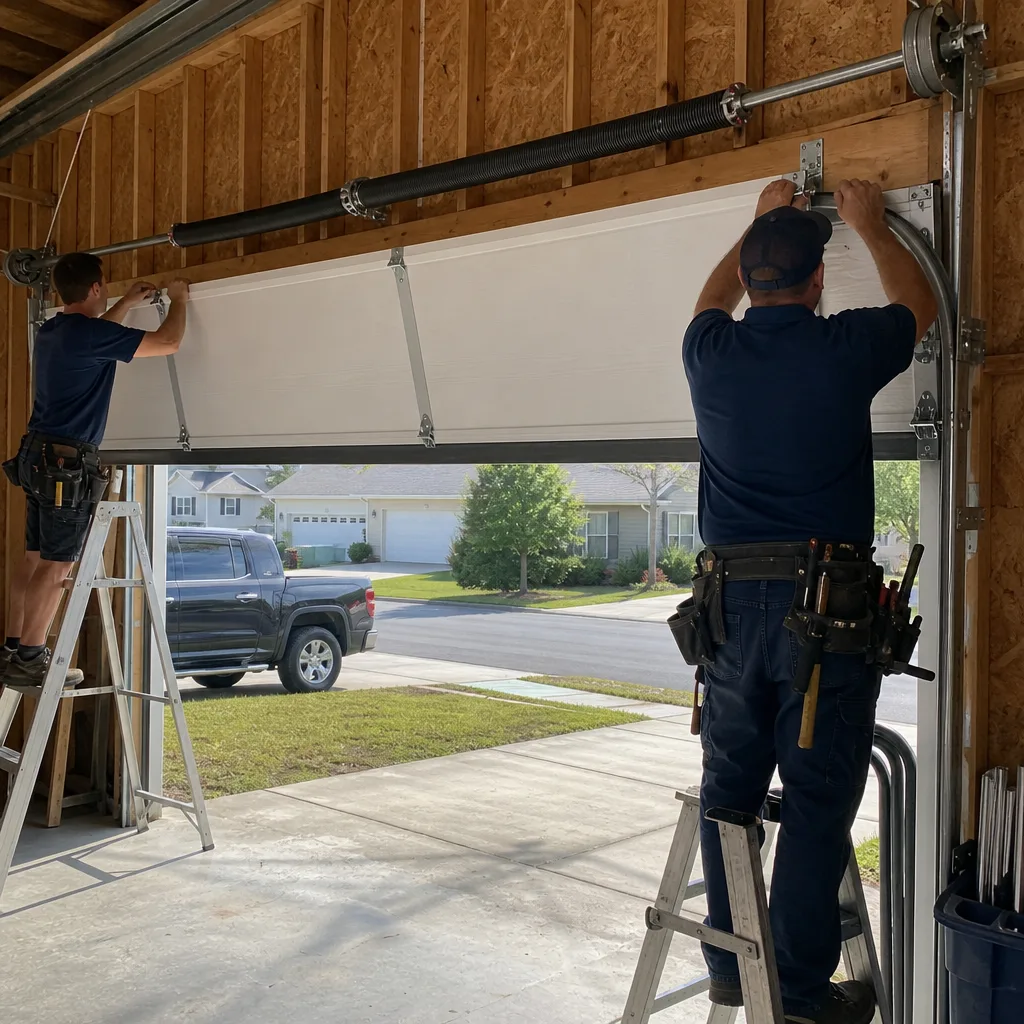
Clermont doesn’t do four seasons, and your garage door maintenance calendar shouldn’t either. Wet season means watching for corrosion on cables, brackets, and springs. Dry season means watching for gaps, seal contraction, and spring tension loss. May and October mean verifying that every bolt and strut holding your door in place is doing its job against wind load. The components that fail in each cycle have known price ranges, and catching them early is always cheaper than waiting for the snap. Twice-a-year professional inspections, a simple three-entry log, and the discipline to photograph your door before storm season are the difference between a $45 maintenance fix and a $700 repair. For more guides & resources, visit our blog. Call (689) 400-2825 for a free estimate in Clermont, with a written price before any work starts and a photo record when it’s done.
Written by Marcus Deller, Owner at Servo Garage Doors Clermont, serving Clermont since 2015.