
Last updated September 20, 2026
Full 25-point door and opener safety check with every visit - springs, cables, rollers, tracks, and your LiftMaster or Chamberlain opener included
You get a price before we start. It does not change when the truck arrives.

LiftMaster openers
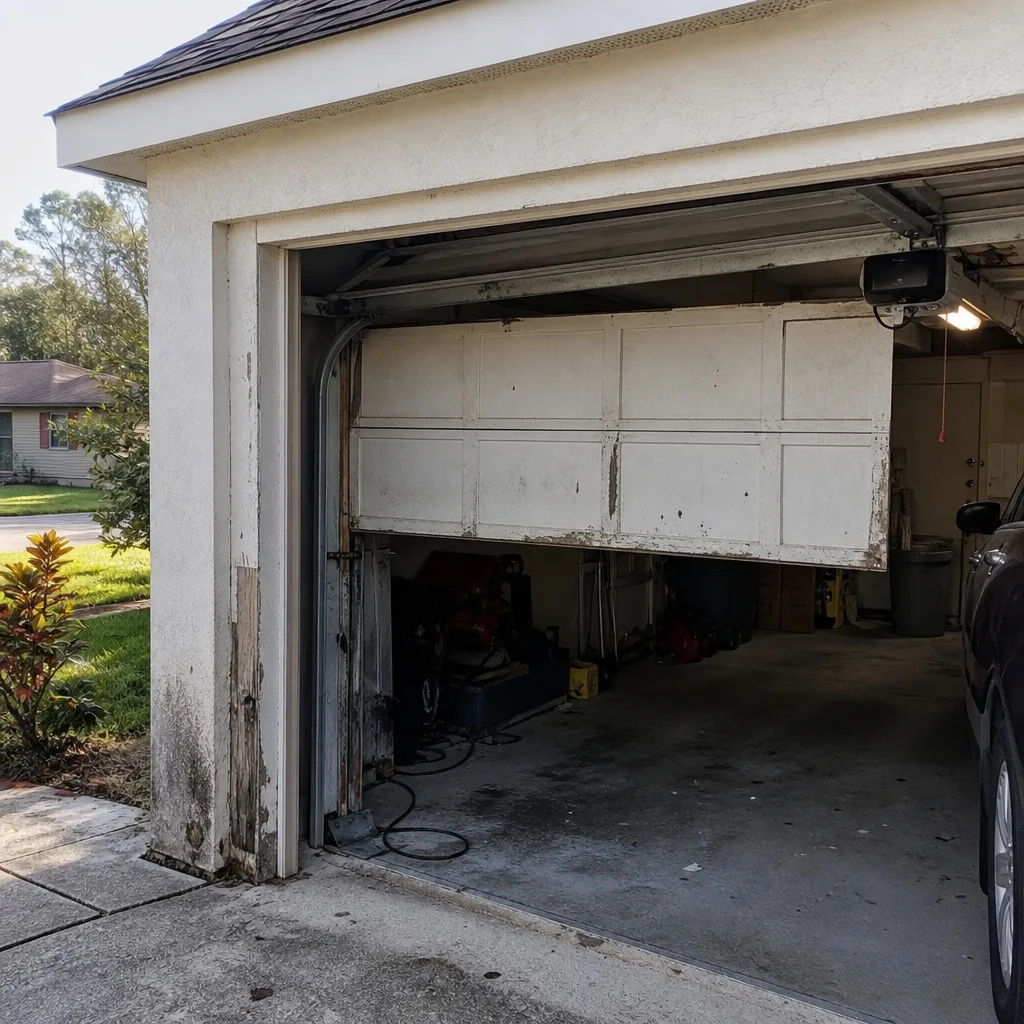 Before
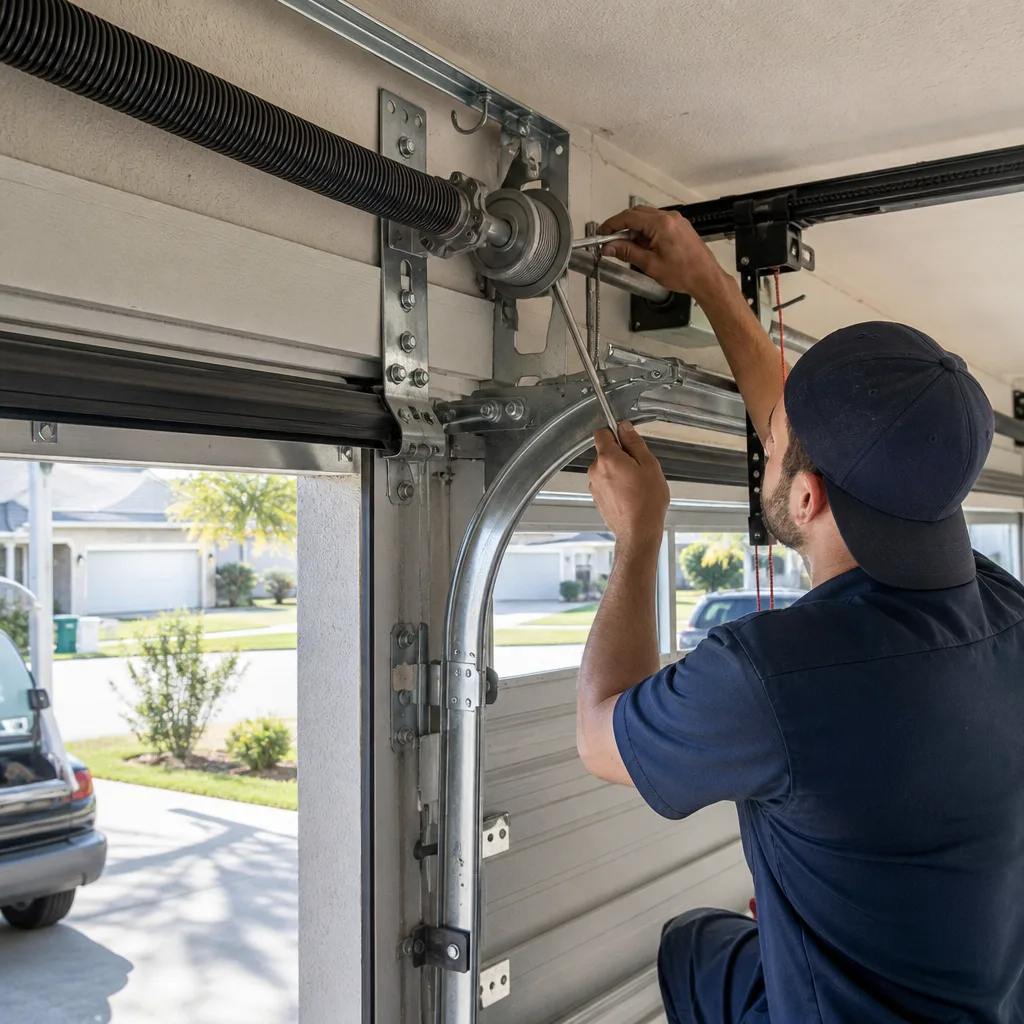 After
After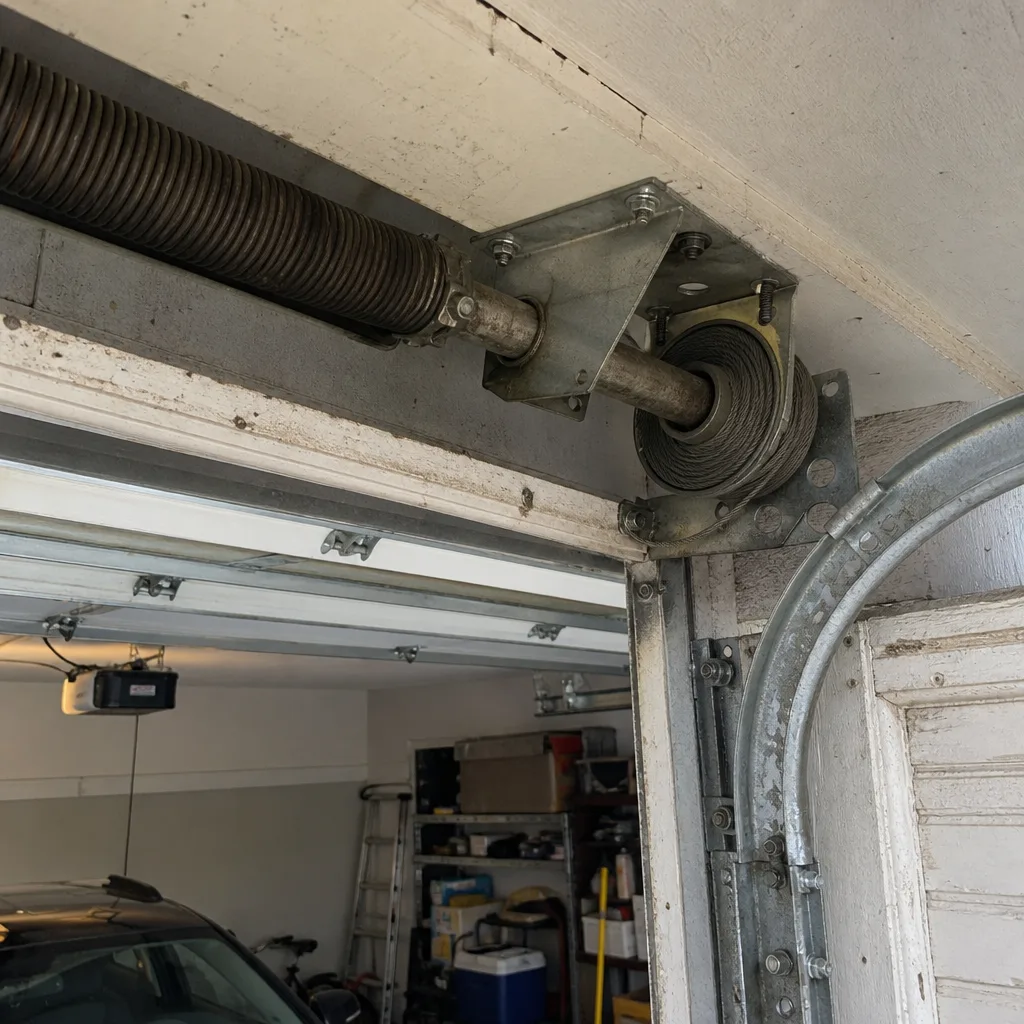 Before
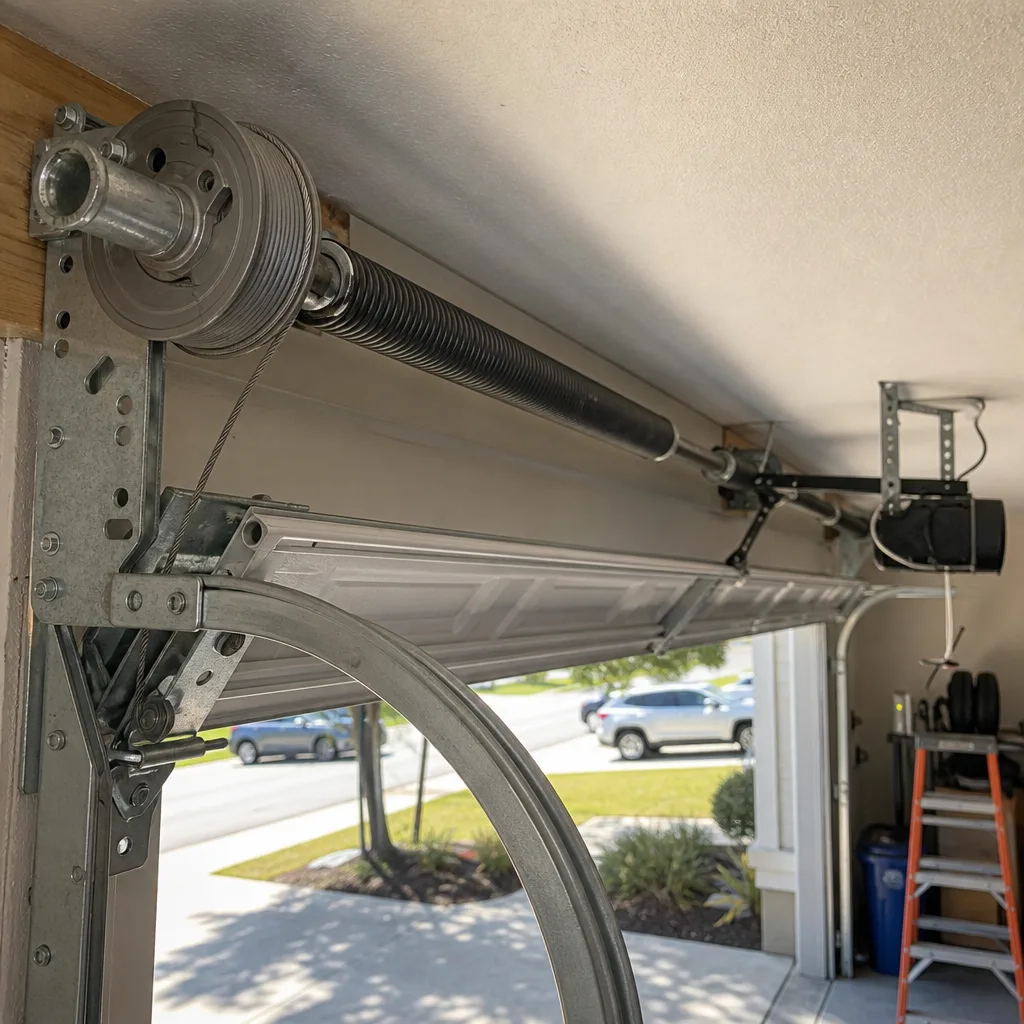 After
After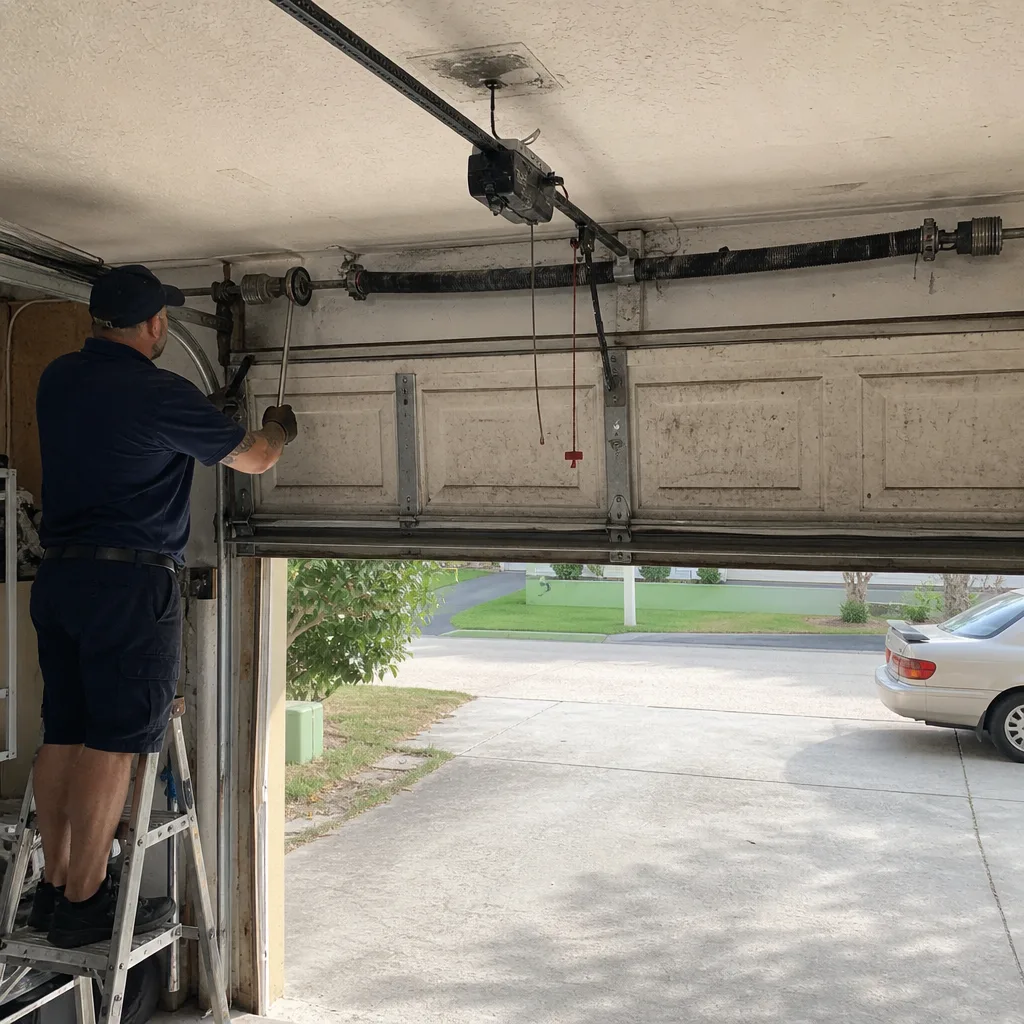 Before
 After
AfterGarage Door Repair Maintenance Checklist for Clermont Homeowners
White lithium grease on nylon rollers accelerates wear. It says “lubricant” on the label, which is why it ends up on every generic checklist, and why rollers fail two years early in houses that followed that advice. Most maintenance lists get written by marketers who have never measured a torsion spring or watched a nylon roller degrade under the wrong product. This one is written the way a technician fills out a documented inspection form in Clermont: specific components, specific products, specific measurements, and a clear line between what you can do yourself and what requires Garage Door Repair services from a licensed professional under Florida code.
Quick Answer
A proper garage door maintenance routine in Clermont means inspecting and lubricating the correct components twice a year (once before wet season, once after), measuring spring wear with three specific tests, documenting everything with dated photos, and leaving load-bearing work to a licensed technician. The full checklist below covers every component from torsion springs to weatherseal, with exact product pairings and Clermont-specific timing that generic guides miss.
Table of Contents
- Lubrication: Which Product Goes on Which Component
- Three Measurable Indicators of Spring Wear
- Documenting a Photo Baseline for Drift Detection
- Clermont-Specific Maintenance Timing
- DIY Tasks vs. Load-Bearing Work
- Component-by-Component Inspection Checklist
- Common Mistakes to Avoid
- When to Call a Professional
- Frequently Asked Questions
BeforeAfterLubrication: Which Product Goes on Which Component
The single most common maintenance error we see on garage door repair calls in Clermont is wrong-lubricant damage. It shows up as swollen nylon rollers, gummed-up hinges, and weatherseal that has hardened and cracked along the bottom edge. The fix is not “lubricate moving parts.” The fix is matching the product to the material pair.
Here is the pairing that works, based on what we document on inspection forms:
- Metal-to-metal contact points (hinges, spring coils, bearing plates): White lithium grease or a garage-door-specific spray lubricant. These surfaces need a heavier film because the contact is metal grinding against metal under tension.
- Nylon rollers: Nothing. Nylon rollers have sealed bearings. If the bearing is sealed and rolling smoothly, leave it alone. If the roller body contacts the track, the roller is worn and should be replaced, not lubricated. Spraying grease on nylon accelerates surface wear and attracts Clermont’s fine sandy dust.
- Steel rollers with unsealed bearings: A light machine oil, never grease. Grease traps grit. Oil flushes the bearing. One drop per bearing, wiped clean after.
- Rubber weatherseal (bottom seal and side seals): Silicone spray or a rubber protectant. Never petroleum-based grease, which breaks down rubber and causes it to harden and crack within one Clermont summer.
- Track (the vertical and horizontal rails): Nothing. Tracks do not need lubrication. Grease on tracks attracts dirt, and the buildup is what actually causes drag. Wipe tracks clean with a dry cloth. That is the entire track maintenance routine.
- Opener chain or screw drive: Chain gets white lithium grease once a year. Screw drive gets a dedicated screw-drive lubricant. Belt drive gets nothing.
In our experience, houses that followed the generic advice end up with a repair bill that was manufactured by the maintenance itself. A $14 tube of the right product is cheaper than replacing four nylon rollers at $18 to $35 each, plus a service call. We photograph the failed component before quoting any replacement, per Clause 4 of The Haven Standard, so when we say a roller failed from wrong lubricant, you see the evidence before you pay for the fix. See our Garage Door Warning Signs: A Clermont Homeowner’s Reference Guide for other preventable failures.
Three Measurable Indicators of Spring Wear
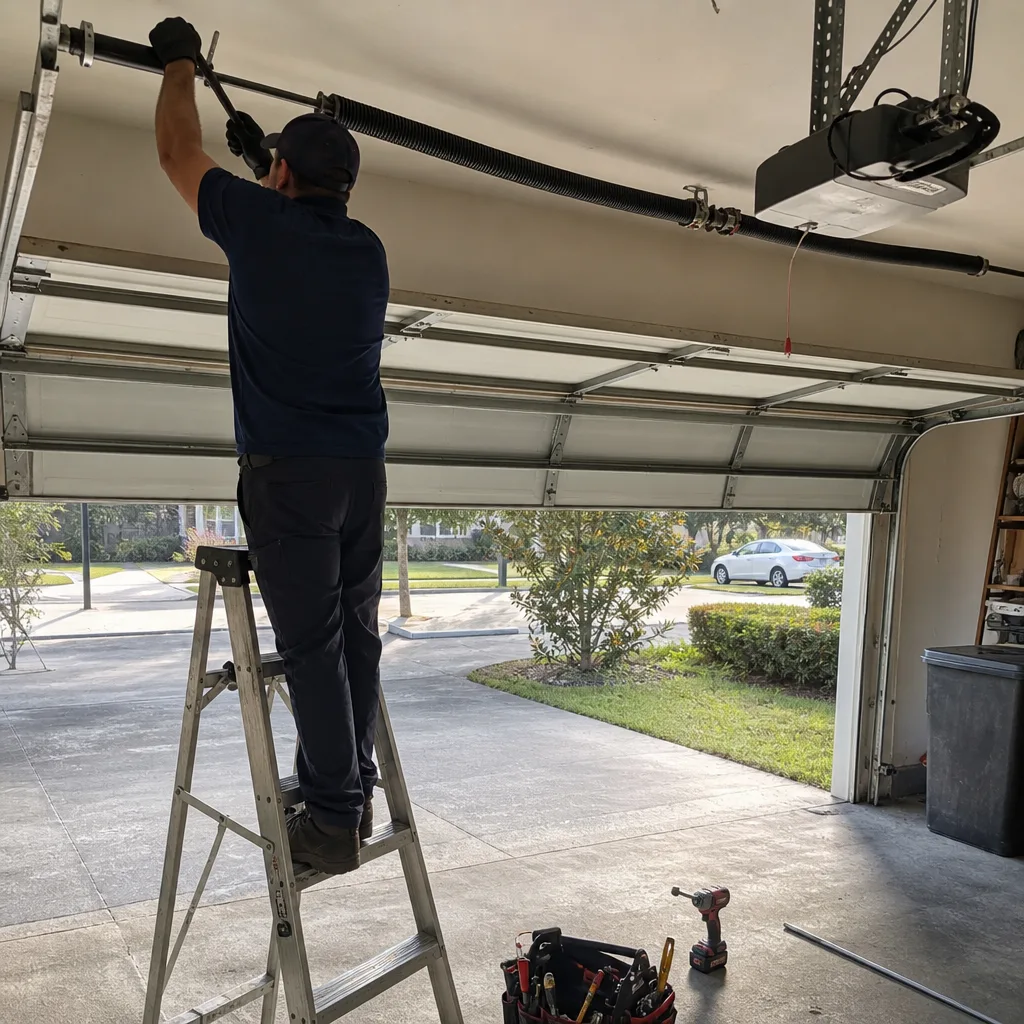
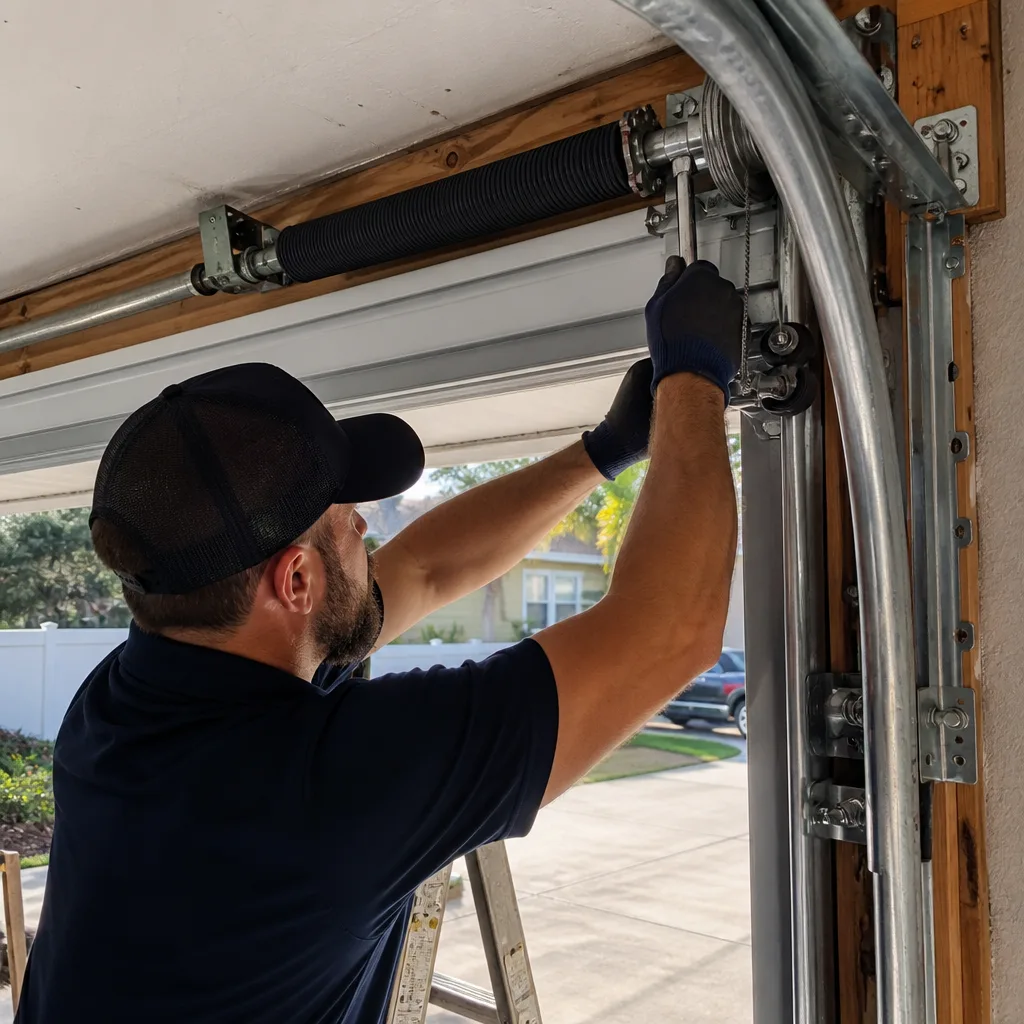
Torsion springs are the component that carries the door’s full weight, and they wear on a measurable cycle count. Most springs in the Clermont market are rated for 10,000 cycles, which works out to roughly 7 to 10 years of normal use. But “roughly” is not a measurement. Here are the three indicators we record on every inspection form, and you can record them yourself without touching anything under tension.
- The door weight test. Pull the emergency release cord so the door operates manually. Lift the door to waist height and let go. A healthy spring holds the door in place. If the door drops, the spring has lost tension. If it rises, the spring is over-tensioned. Either reading means the spring is approaching replacement and should be measured by a technician.
- The gap measurement. Look at the torsion spring above the closed door. You will see it is made of coils. With the door closed and the spring under tension, measure the gap between coils. A new spring shows a tight, consistent coil gap. A spring at 70 to 80 percent of its life will show visible gaps between coils. Compare the two springs on a two-spring system. When one has wider gaps than the other, that spring is closer to failure.
- Cycle count estimation. Count how many times the door opens and closes on an average day (two cycles per open-close). Multiply by days per year of home use. If your door operates four cycles per day, that is roughly 1,460 cycles per year. A 10,000-cycle spring lasts about 6.8 years at that rate. Write down the date the springs were installed, and you will know when you are entering the replacement window before the spring breaks.
When a spring fails in Clermont, it is usually on a Monday morning or a holiday weekend, because that is when the door has just been through its heaviest use. Measuring these indicators twice a year gives you a replacement window instead of a surprise. And for clarity: spring replacement is load-bearing work. Under Florida code, this requires a licensed professional. The spring is under enough tension to cause serious injury, which is why we never include spring replacement on a DIY checklist.
Documenting a Photo Baseline for Drift Detection
The purpose of documentation is not to have photos. The purpose is to detect drift. Most garage door problems do not appear suddenly. They develop over months: a roller wearing, a hinge loosening, a spring gap widening. Without a baseline, you cannot see the change. With a baseline, you can see it in the same way a technician reads a documented inspection record.
We built Servo on a founding rule: the customer sees the failed part before anyone quotes a replacement. That rule is now Clause 4 of The Haven Standard, and the same logic applies to homeowner maintenance. Here is how to document your own baseline:
- Photograph the torsion springs. Use a phone camera, door closed, standing on the floor. Frame the full spring assembly so the coil gaps are visible. Date the photo.
- Photograph the rollers. One photo per roller, from inside the garage, showing the roller body and where it touches the track. Capture both sides of the door.
- Photograph the bottom seal. Close the door and photograph the seal from inside and outside, showing where it meets the concrete. Clermont’s wet season is rough on seals, and compression cracks start small.
- Photograph the hinges and brackets. Close-up shots of each hinge plate, where bolts meet the door section. Loose bolts show as a visible gap before they become a sag.
- Store the photos in a dated folder. Six months later, repeat all four shots from the same angles. Compare side by side. The differences are your maintenance list.
This is the same evidence-based approach we use on every service call. The customer leaves with a documented photo record of what was found and what was done. A homeowner who keeps their own record can hand us a photo and say “here is what it looked like six months ago.” That is more useful than any verbal description.
Clermont-Specific Maintenance Timing
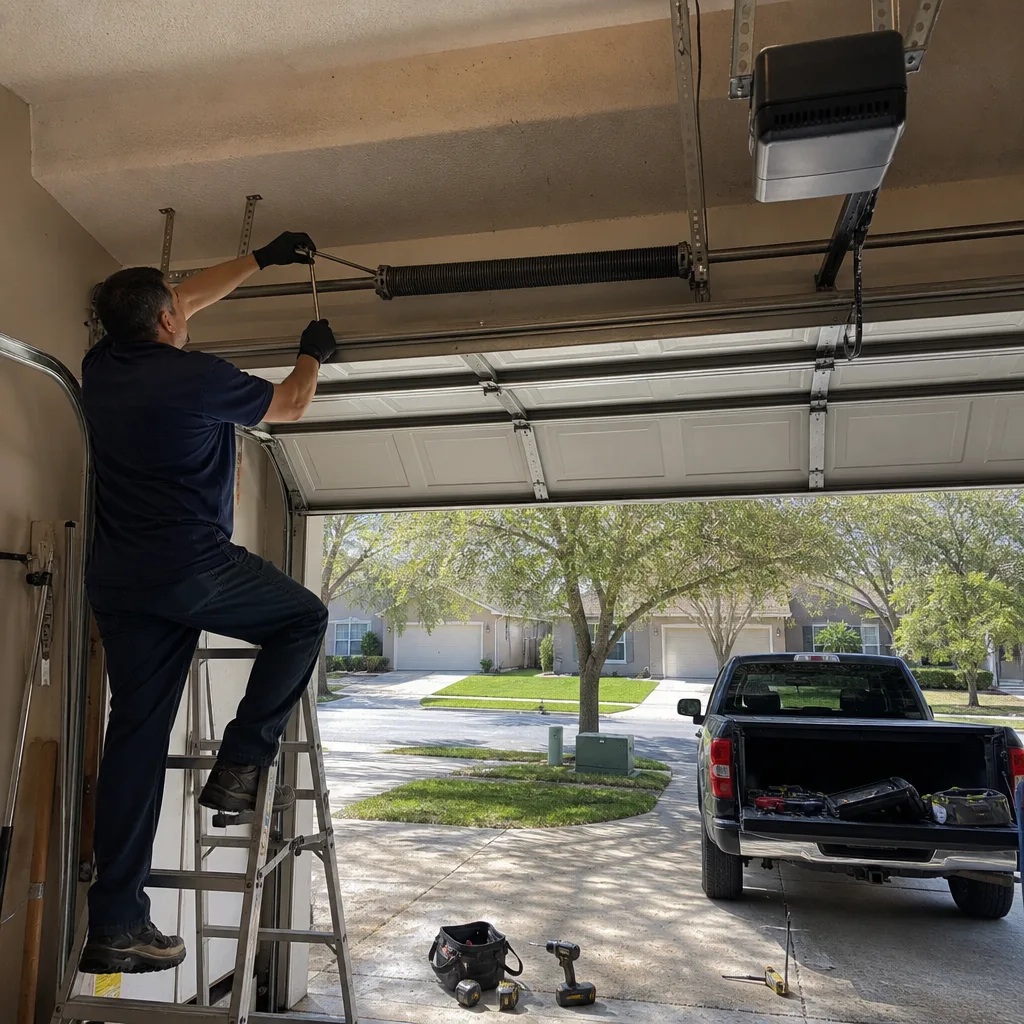
Generic checklists say “quarterly.” Clermont does not work on a quarterly clock. The two variables that matter here are the wet season and the high-heat months. Both stress different components in different ways, and maintenance should be timed around them, not around a calendar quarter.
Before wet season (April to May). Clermont’s wet season runs from roughly late May through October. The problem is humidity and standing moisture, which accelerates rust on metal components and swelling on rubber seals. Run the full inspection before the rains start: check the weatherseal for cracks that will let water into the concrete joint, check rollers for any surface rust beginning to form, check hinges and bearing plates for the same, and lubricate the correct metal-to-metal contacts with white lithium grease. A door that enters wet season dry and properly lubricated will exit it in much better shape.
After wet season (November). The post-rain inspection is when you catch what the wet season did. Look for rust bloom on spring coils and roller stems. Check the bottom seal for compression set, which is when the rubber stays flattened where it meets the concrete. Clean the tracks with a dry cloth to remove the fine sandy grit that blows into Clermont garages during summer storms. If your garage faces east and the door catches afternoon heat, check whether the door sections show any warping or paint blistering at the top panels.
High-heat months (June through September). Heat does not directly damage torsion springs. But heat expands the door sections, which changes the door’s effective weight and shifts the load the spring carries. That is why spring failures cluster in late summer. During high-heat months, run the door weight test monthly. It takes two minutes and tells you more than any visual inspection.
If the wet season did leave corrosion on a track or roller, the correction is usually a replacement, not a cleaning. A rusted roller bearing cannot be cleaned back to smooth. It gets replaced with a new roller, and the photo record documents the before and after.
DIY Tasks vs. Load-Bearing Work
Some garage door maintenance is genuinely simple. Some of it is dangerous enough that Florida code restricts it to licensed professionals. The line matters, and most checklists blur it.
Genuine DIY tasks:
- Lubricating hinges and bearing plates with white lithium grease
- Wiping tracks clean with a dry cloth
- Photographing and inspecting springs, rollers, hinges, and seals
- Running the door weight test and gap measurement
- Tightening loose hinge bolts with the door closed and supported
- Replacing the bottom weatherseal
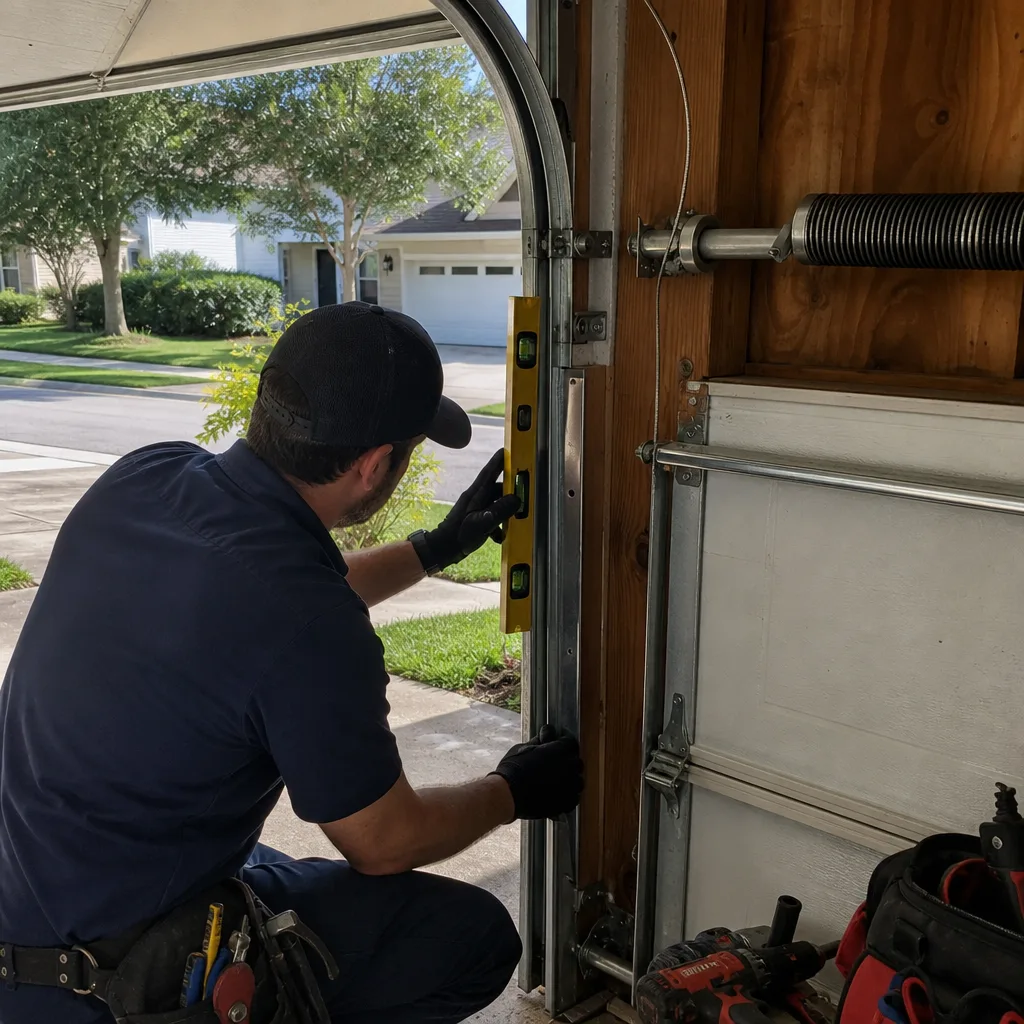
- Cleaning and aligning the safety sensors with a level
Load-bearing work requiring a licensed professional:
- Torsion spring adjustment or replacement. The spring is under enough tension to cause serious injury or death if mishandled. Never attempt this yourself.
- Cable repair or replacement. Cables carry the same tension as springs. A frayed cable is a warning sign, not a DIY project.
- Track realignment when the door binds or jumps. Track adjustment changes the load path, and an incorrect adjustment can destabilize the entire door.
- Any repair involving the bottom brackets. These brackets anchor the cables and carry spring tension. DIY attempts here are the leading cause of emergency room visits related to garage doors.
The rule is simple: if the component is under tension or supports the door’s weight, a professional handles it. If the component only needs cleaning, lubricating, photographing, or a bolt tightened with the door at rest, it belongs on a homeowner checklist. Our own garage door installation work in Clermont always includes a documented walkthrough of what the homeowner can safely maintain and what requires a service call, so there is no ambiguity from day one.
Component-by-Component Inspection Checklist
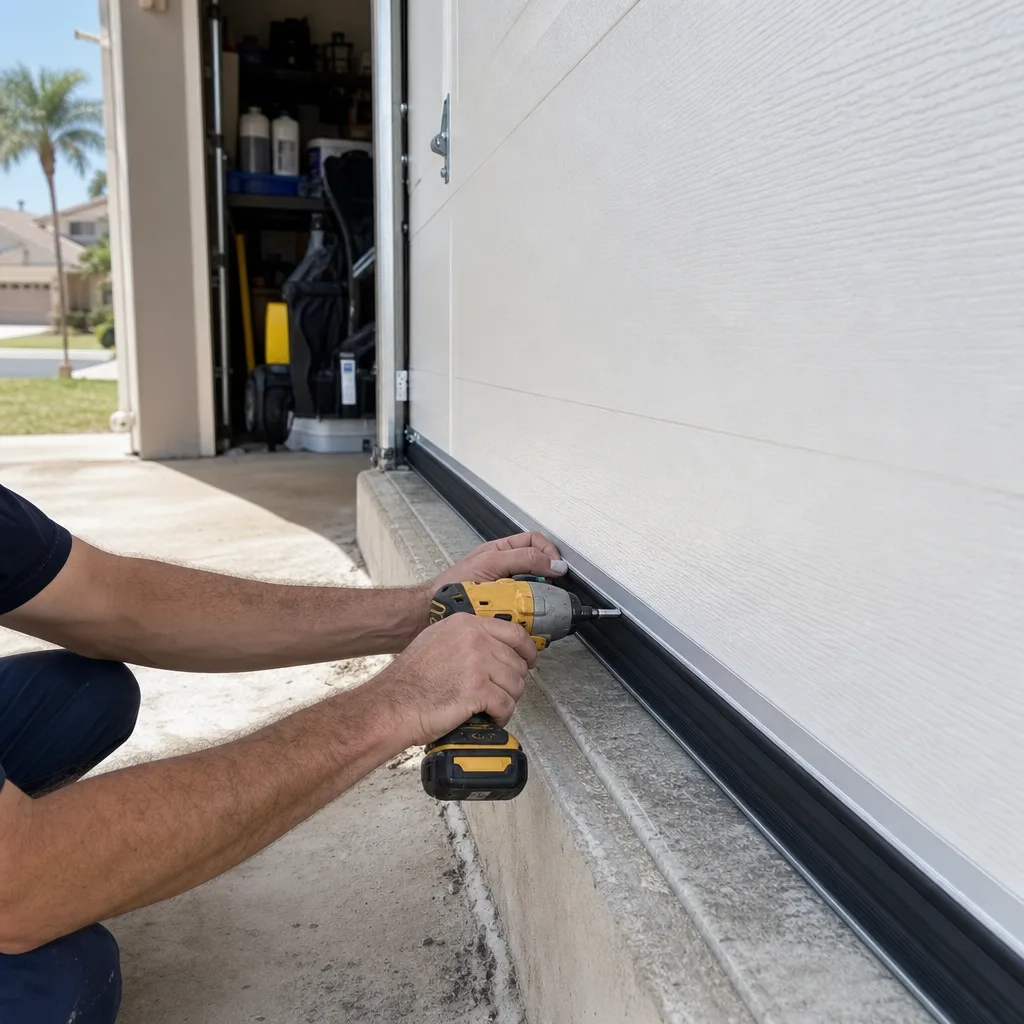
This is the full inspection list, in the order a technician would work through it. Run it twice a year, before and after wet season, and document each item with a photo.
1. Torsion springs
Check coil gap uniformity. Run the door weight test. Check for rust bloom at the coil ends. Compare the two springs if you have a two-spring system. Any gap wider than a credit card between coils signals approaching replacement.
2. Rollers
Check for surface wear, flat spots, wobble, or rust on the roller stem. Nylon rollers should show no visible wear on the outer body. Steel rollers with unsealed bearings should roll freely with no grinding sound. Replace any roller that does not roll smoothly.
3. Hinges and brackets
Check each hinge plate for loose bolts, visible gaps, or cracking at the plate. Check the bottom corner brackets for rust or deformation. Tighten loose bolts with the door closed. Any cracked bracket is a professional repair.
4. Cables
Look for fraying, kinking, or rust at the cable ends. Cables should be taut and clean. Any visible strand breakage means replacement, and this is load-bearing work requiring a professional.
5. Track
Wipe clean with a dry cloth. Check for dents, bends, or gaps where the track meets the wall brackets. The track should be plumb and parallel on both sides. Any visible bend is a professional adjustment.
6. Weatherseal
Check the bottom seal for compression set, cracks, or gaps where it meets the concrete. Check side seals for brittleness. Clermont’s wet season accelerates rubber degradation. Replace the bottom seal if you can see daylight under the closed door.
7. Safety sensors
Check alignment with the door closed. Both sensors should show a steady indicator light. Clean the lenses with a dry cloth. Test by closing the door and waving an object through the beam. The door should reverse immediately.
8. Opener
Check for chain slack or belt tension. Run a close cycle and listen for grinding or laboring sounds. Check the opener’s manual release cord for wear. Lubricate the chain or screw drive once a year with the correct product. If the opener logic board or limit switch drifts, that is a garage door opener repair in Clermont, not a homeowner fix.
Run the full list in this order, every time. Consistency is what turns a checklist into a maintenance record.
Common Mistakes to Avoid
- Using white lithium grease on nylon rollers. Grease attracts grit and accelerates surface wear. Nylon rollers with sealed bearings need no lubrication at all.
- Lubricating the track. Greasy tracks collect Clermont’s sandy summer dust and create drag. The track gets wiped clean, nothing else.
- Using petroleum grease on the weatherseal. It breaks down the rubber and leaves the seal cracked and brittle within one summer.
- Checking the door only when it breaks. A spring that fails in August was showing measurable wear in February. The door weight test takes two minutes and catches the drift.
- Tightening hardware while the door is raised. A door in the raised position is under full spring tension. Any bolt loosened or tightened in that state changes the load path. Work with the door closed and supported.
- Ignoring a frayed cable because “it still works.” Cables do not fray gradually and then fail on a schedule. A frayed cable is a failure waiting for the wrong moment, and it is load-bearing work that requires a professional.
- Treating all lubricants as interchangeable. White lithium grease, light machine oil, silicone spray, and screw-drive lubricant are different products for different material pairs. The wrong pairing causes the failure you were trying to prevent.
When to Call a Professional
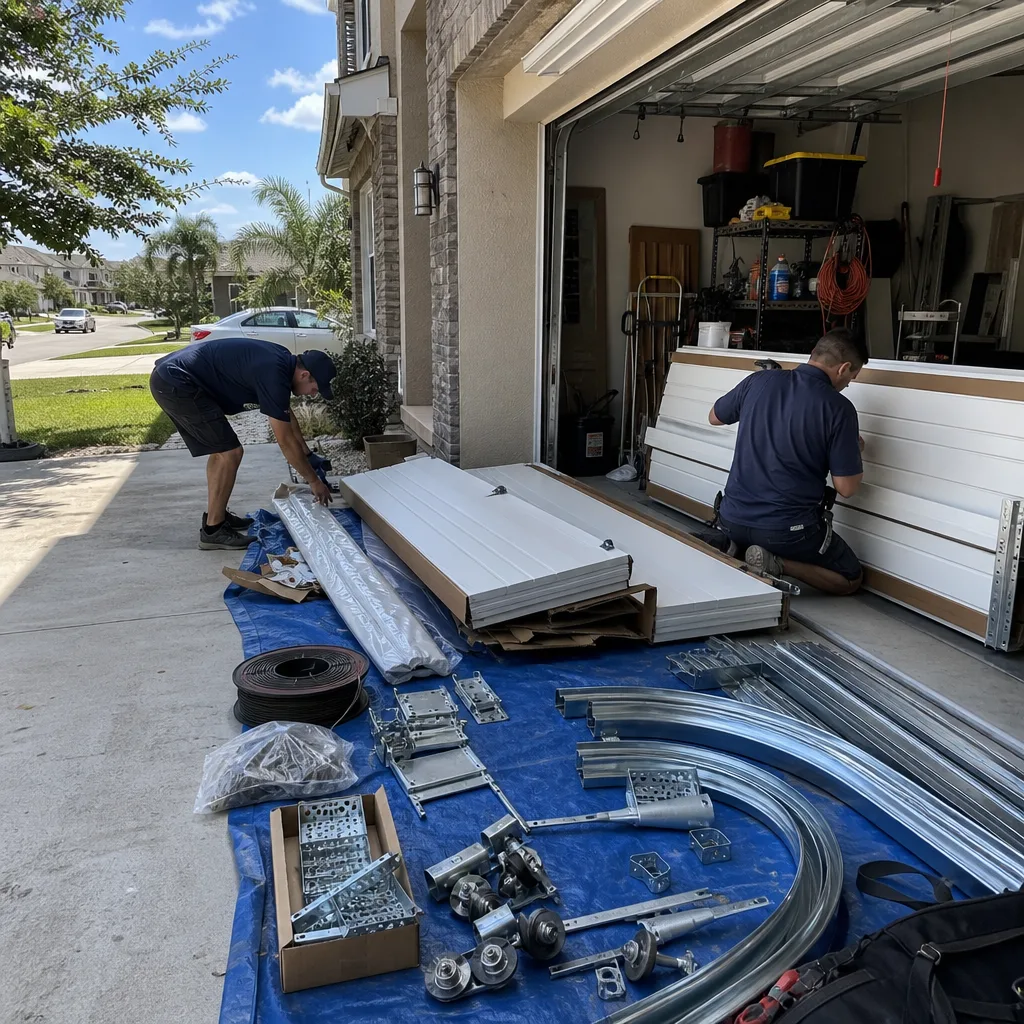
Call a professional when the component is under tension, when the door’s weight path has changed, or when the repair requires a measurement you cannot safely take. A frayed cable, a visibly gapped torsion spring, a door that drops when you let go at waist height, a track that is visibly bent: these are service calls, not checklist items. If the door reverses incorrectly, grinds on a close cycle, or the opener won’t respond to the wall button or remote, that is a diagnostic call. Servo Garage Doors Clermont offers free estimates in Clermont, with a flat written price and written scope delivered before any work starts, per Clause 1 of The Haven Standard. Call (689) 400-2825 and you will speak to a live person, not a recording.
Frequently Asked Questions
A garage door tune-up and inspection in Clermont typically runs between $75 and $150, depending on the door type and the number of components inspected. Servo Garage Doors Clermont quotes a flat, written price before any work starts, so the number you see is the number you sign. Call (689) 400-2825 for an exact quote.
Twice a year is the practical answer for Clermont: once before wet season in April or May, and once after wet season in November. This timing matches the weather patterns that actually stress the components, not a generic quarterly calendar. During high-heat months, add a monthly door weight test.
Yes, if you match the right product to the right component. White lithium grease on metal-to-metal contacts, a drop of light machine oil on unsealed steel roller bearings, silicone spray on rubber weatherseal, and nothing on nylon rollers or tracks. The wrong pairing causes accelerated wear.
Run the door weight test: with the door in manual mode, lift it to waist height and let go. If it drops, the spring has lost tension. Also photograph and measure the coil gap; visible gaps between coils indicate the spring is at 70 to 80 percent of its life. Spring replacement is professional work under Florida code.
A tune-up is preventive: inspection, lubrication, tightening, and documentation of current condition. A repair corrects a specific failure, like a broken spring, frayed cable, or failed roller. In our experience, a properly executed tune-up catches most failures before they happen, which is why we document everything with a photo record.
Noise usually traces to a specific component: dry metal-to-metal hinges, a worn roller bearing, a loose hinge plate, or a chain that needs lubrication. A documented inspection will identify which one it is. If the noise is a grinding sound during a close cycle, that can indicate opener gear wear, which is a garage door opener repair, not a lubrication fix. Servo Garage Doors Clermont will diagnose it and show you the evidence before any work is quoted.
The Bottom Line
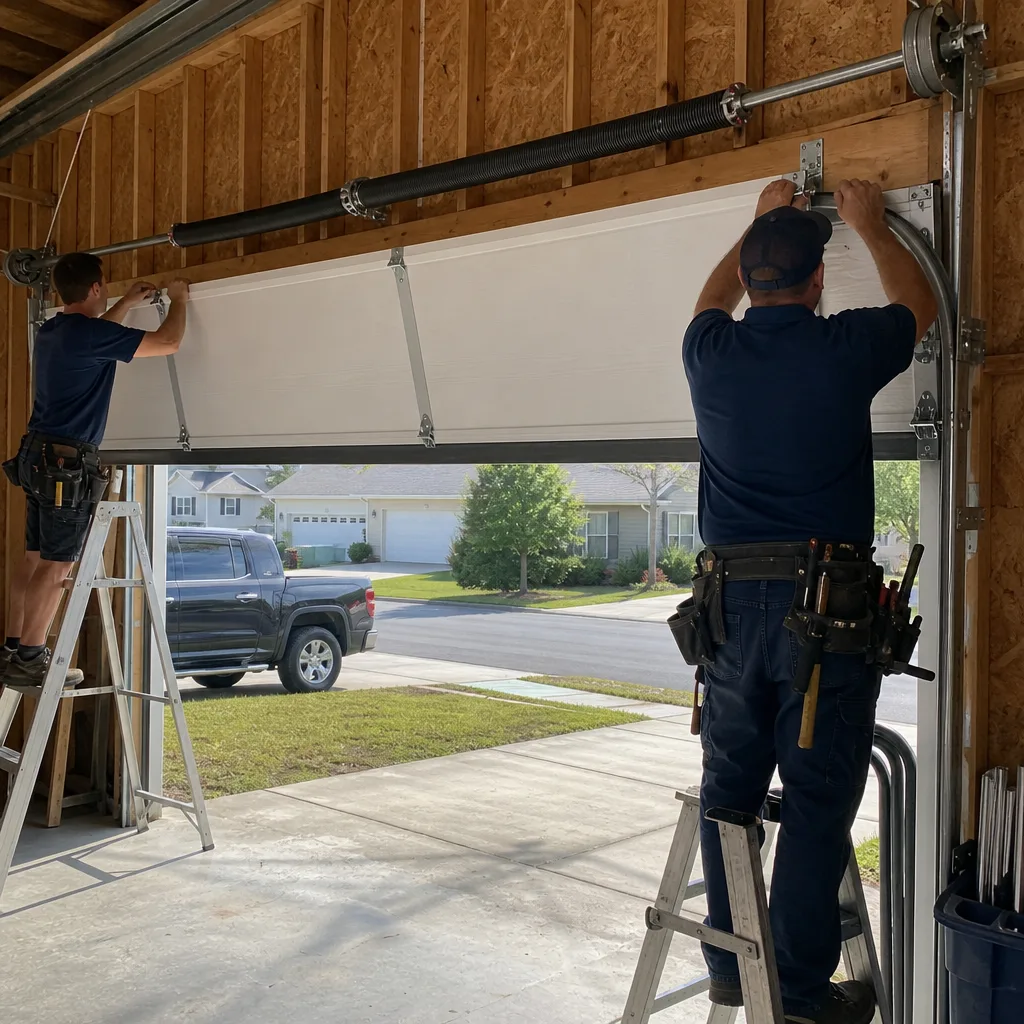
A garage door maintenance checklist is only as useful as the specificity behind it. The right lubricant on the right component, measured spring wear, a photographic baseline, and Clermont-timed inspections: those four things catch most failures before they happen. The homeowner handles the documentation and the simple cleaning and lubrication tasks. A licensed professional handles everything under tension. If you want a documented inspection from a company that photographs the failed component before quoting a replacement, call Servo Garage Doors Clermont at (689) 400-2825 for a free estimate. The written price comes before any work starts, every time.
Written by Marcus Deller, Owner at Servo Garage Doors Clermont, serving Clermont since 2015.